During my time at Inora, I volunteered to redesign our company card. We’re moving offices, the boss thinks the current design needs some work, and some of the marketing team is running low on card supply; I also thought this would be the perfect opportunity to add a quick gimmick into the card as a conversation starter.
The redesign
A few months back I performed the original redesign of the Inora company card. We had new employees coming in, I wanted some myself, and a lot of current employees were running low in supply. Instead of just ordering more of the same I pitched the idea of design a refresh of the card with a more modern appearance. The process went well and we eventually made our order with the business card design generator, printer, and office supply outlet MOO.
Here is the outcome of that process, the original card is on the right and the redesign is on the left. I was not at the company early enough to receive original cards so I am using an example of another employee whose personal information I have redacted.
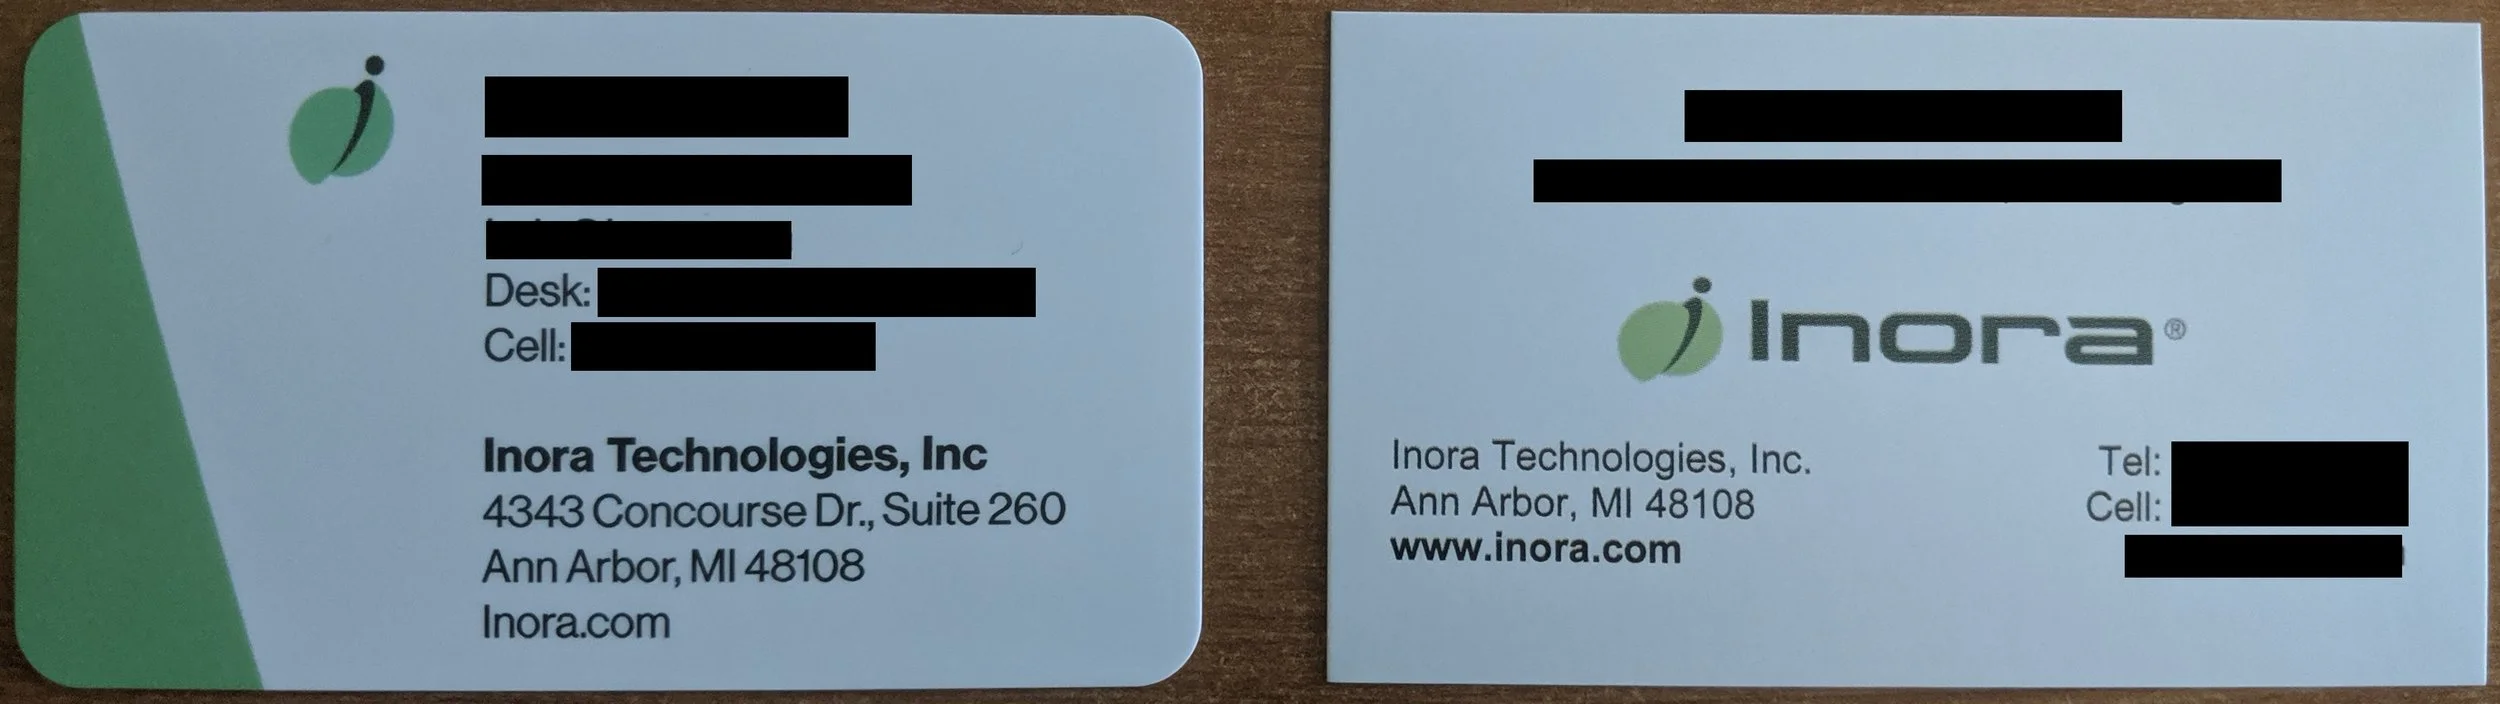
LEFT (Redesign) RIGHT (Original)

LEFT (Redesign) RIGHT (Original)
Some takeaways from this new design:
I wanted to focus a lot on incorporating our company identity into the card.
The green band on the left of the card’s front face is not only just an offset of color to fill white space but is also a shade of green that we use commonly throughout all our products.
The new back image displays our company logo boldly with all of our product icons hovering beneath.
I wanted to bring all the text into a common area to reduce eye movement around the card.
The intent is that it would make the card easier to read and allows you to find information more quickly.

My own card for a full example of the redesigns face
The start of the gimmick
The first redesign was performed a few months ago and we are now moving offices. I’ve wanted to learn about Unity’s AR Foundation package for a while and I decided that this was a perfect opportunity to create something with it. My plan is to create an AR application using the company logo and product images on the back of our business cards as an image marker to have 3D renderings of our products hover above the card. Using the back image not only allows me to create an optimized image maker but also makes it so the AR application will work with any employee’s business card.
Thankfully, with Unity 2019.2.0f and AR Foundation’s AR Tracked Image Manager component, creating augmented reality apps that can detect and track images is easy to set up; I am not sure when the Tracked Image Manager became available but for reference I am using AR Foundation Preview 2.2.0.
This was the outcome of the first iteration of the test project:

Test application running a a Pixel 2 XL
As you can see from the video above AR Foundation is very capable of recognizing and tracking an image, even one that is not optimized or intended to be an image marker. From here my main focus is creating a better version of this back image so it is a more stable image marker.
In the next part of this series, I will be discussing how I created this test application and other small test projects, the augmented business card’s current state, necessary optimizations needed to make the back image a better marker, and the design document for the project.
In the next part of this series, I will be discussing how I created this test application and other small test projects, the augmented business card’s current state, necessary optimizations needed to make the back image a better marker, and the design document for the project. Update: 5/11/21 these following pages in this series have been removed.